> ## Documentation Index
> Fetch the complete documentation index at: https://docs.caplena.com/llms.txt
> Use this file to discover all available pages before exploring further.
# How to Add Additional Columns for Analysis After Upload
> Missed a TTA column during import? Here's how to bring it in later—no reupload of the full dataset needed.
Did you forget to include a column for analysis during your data upload? No worries — there are two ways to bring that column into your analysis using **Smart Columns** or **Add & Replace**.
## Option 1: Using Add & Replace
If Smart Columns are not available or preferred, you can re-import the column using the **Replace** flow.
The original dataset must contain a **unique identifier** column (for example, UUID or user ID).
Include the **unique identifier** column (e.g., UUID, respondent ID) and the **column(s)** you forgot to include originally.
In your project, go to **Data → Replace Data** and upload your new file.
Select the **identifier column** to match existing rows, then select the **new column(s)** to be added.
**Check the TTA box** if the column should be treated as open text, select the option to **add as a new column**, and complete the upload.
## Option 2: Using a Smart Column (if included in your plan)
If you have **Smart Columns** enabled, you can turn an existing column into a **Text to Analyze (TTA)** column.
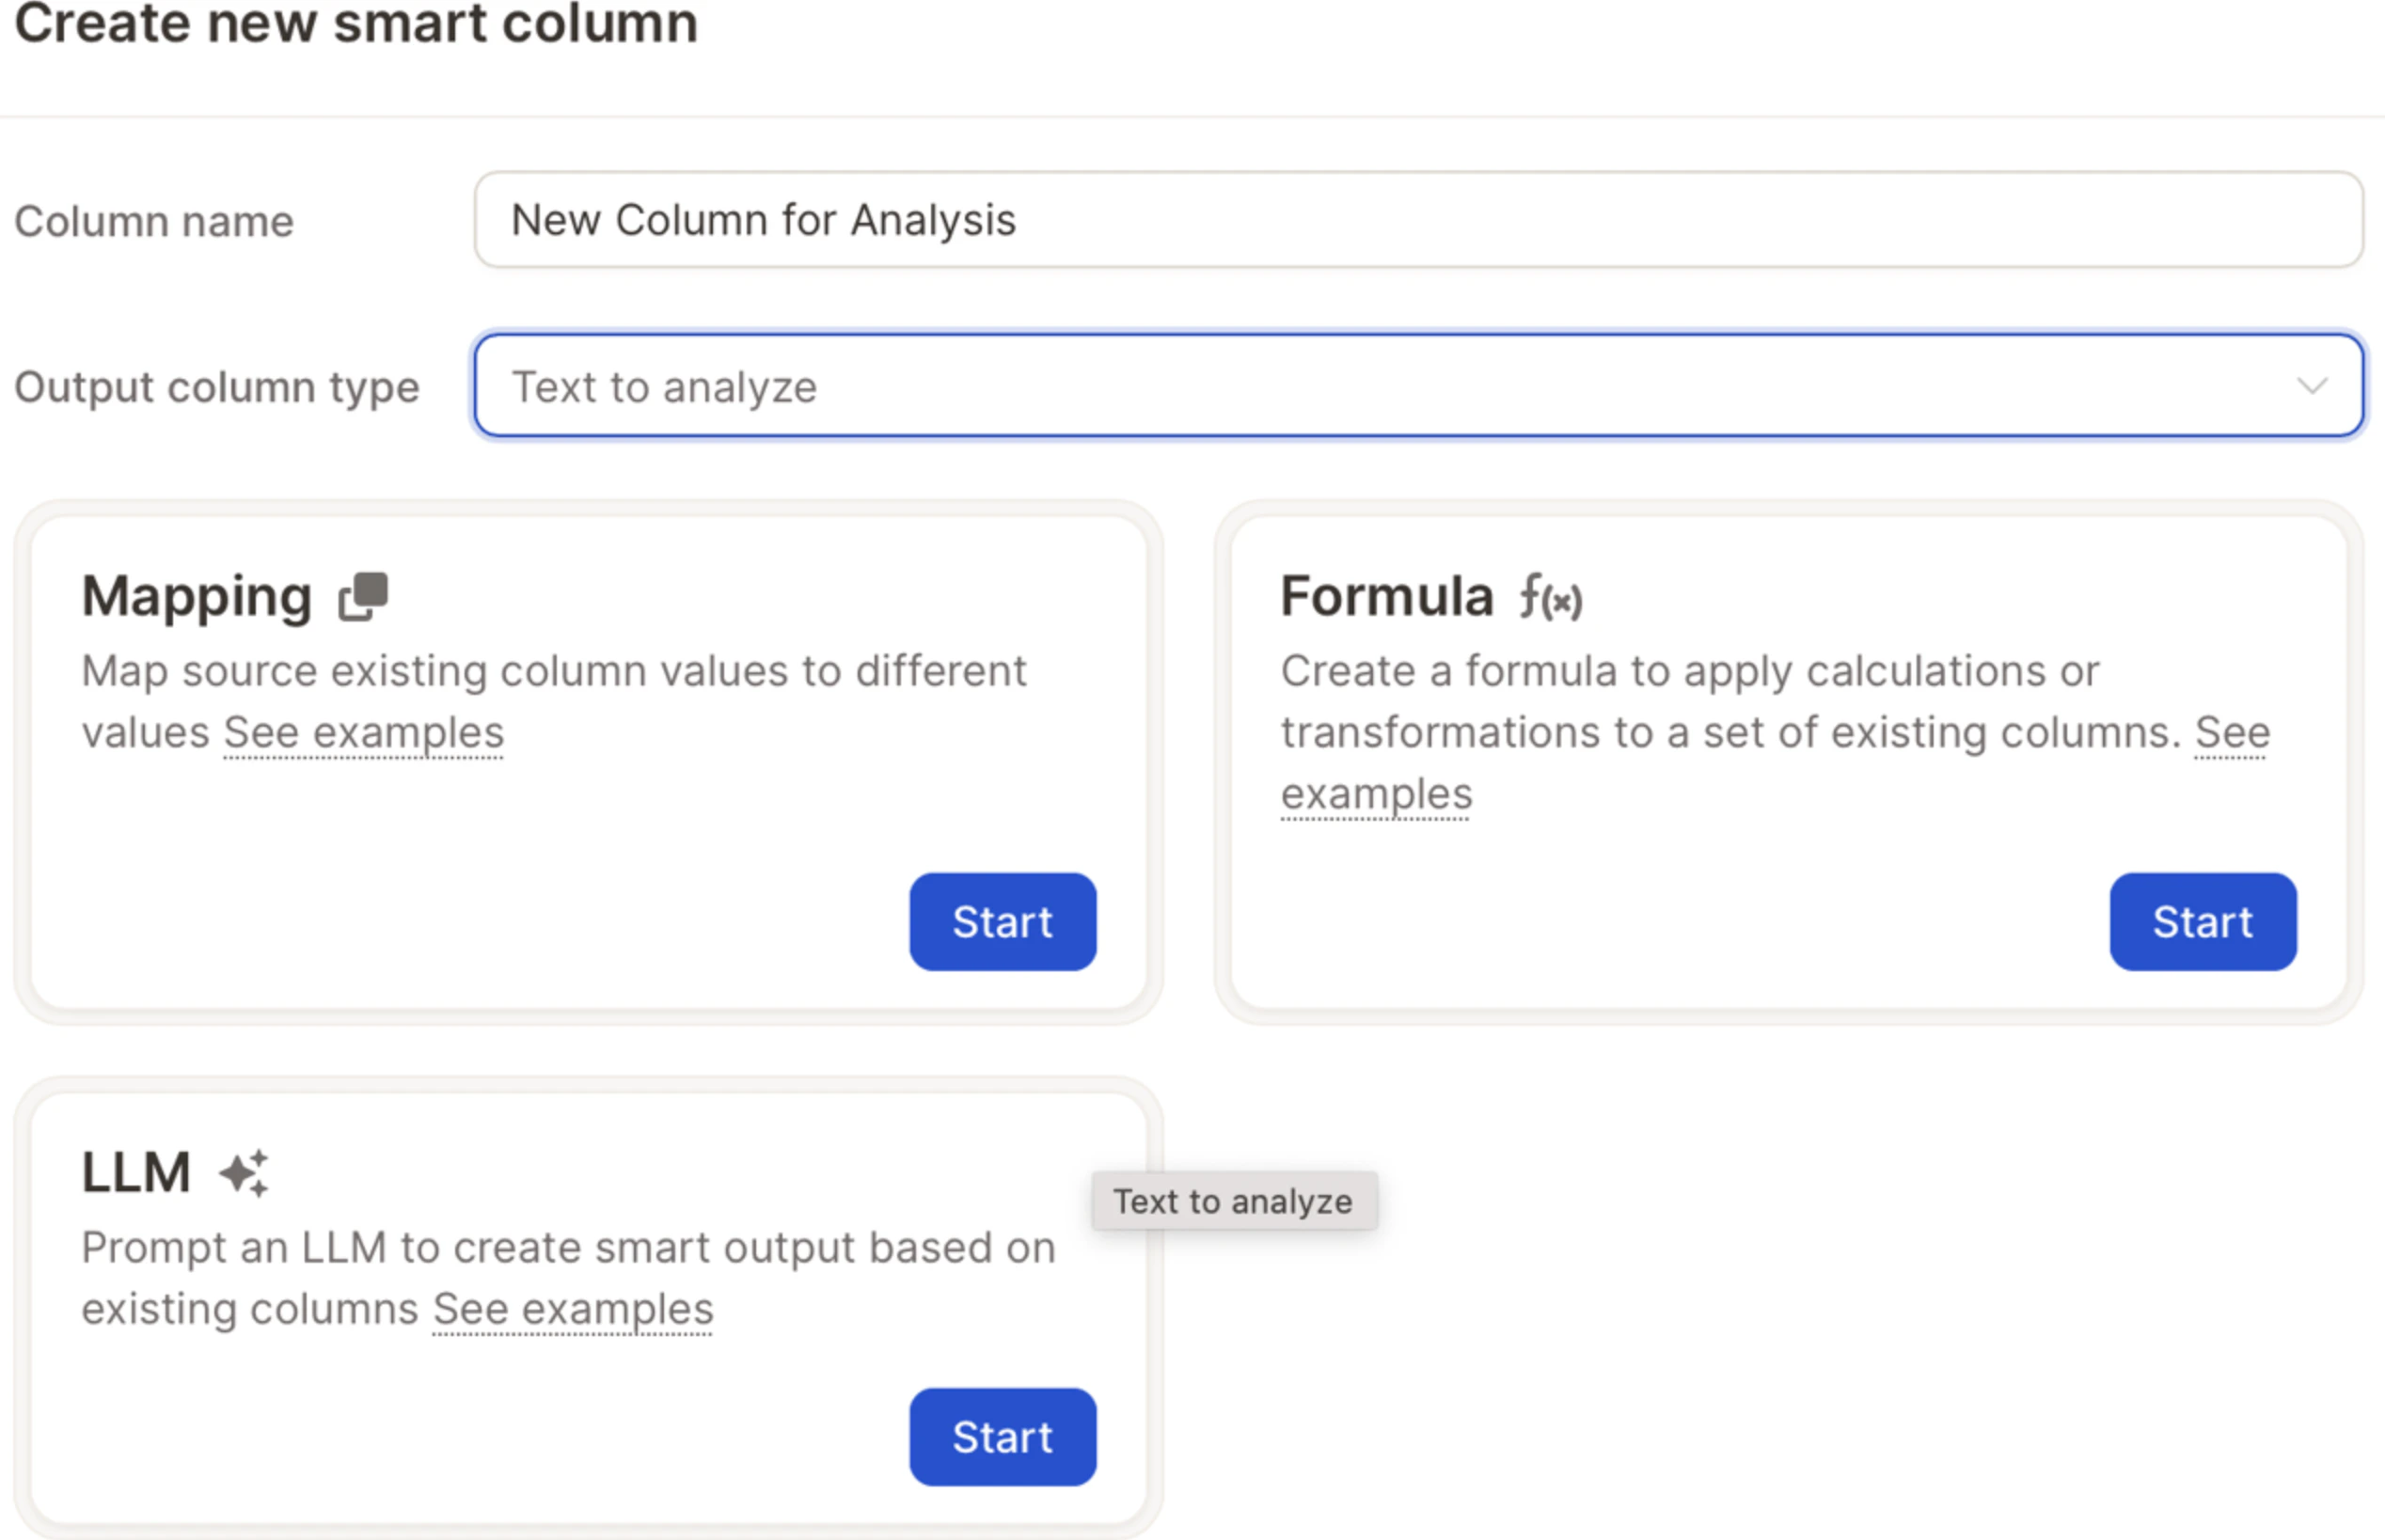
Go to your project and open the **Smart Columns** panel, then click **Create Smart Column**.
Select the column type **"Text to Analyze"**.
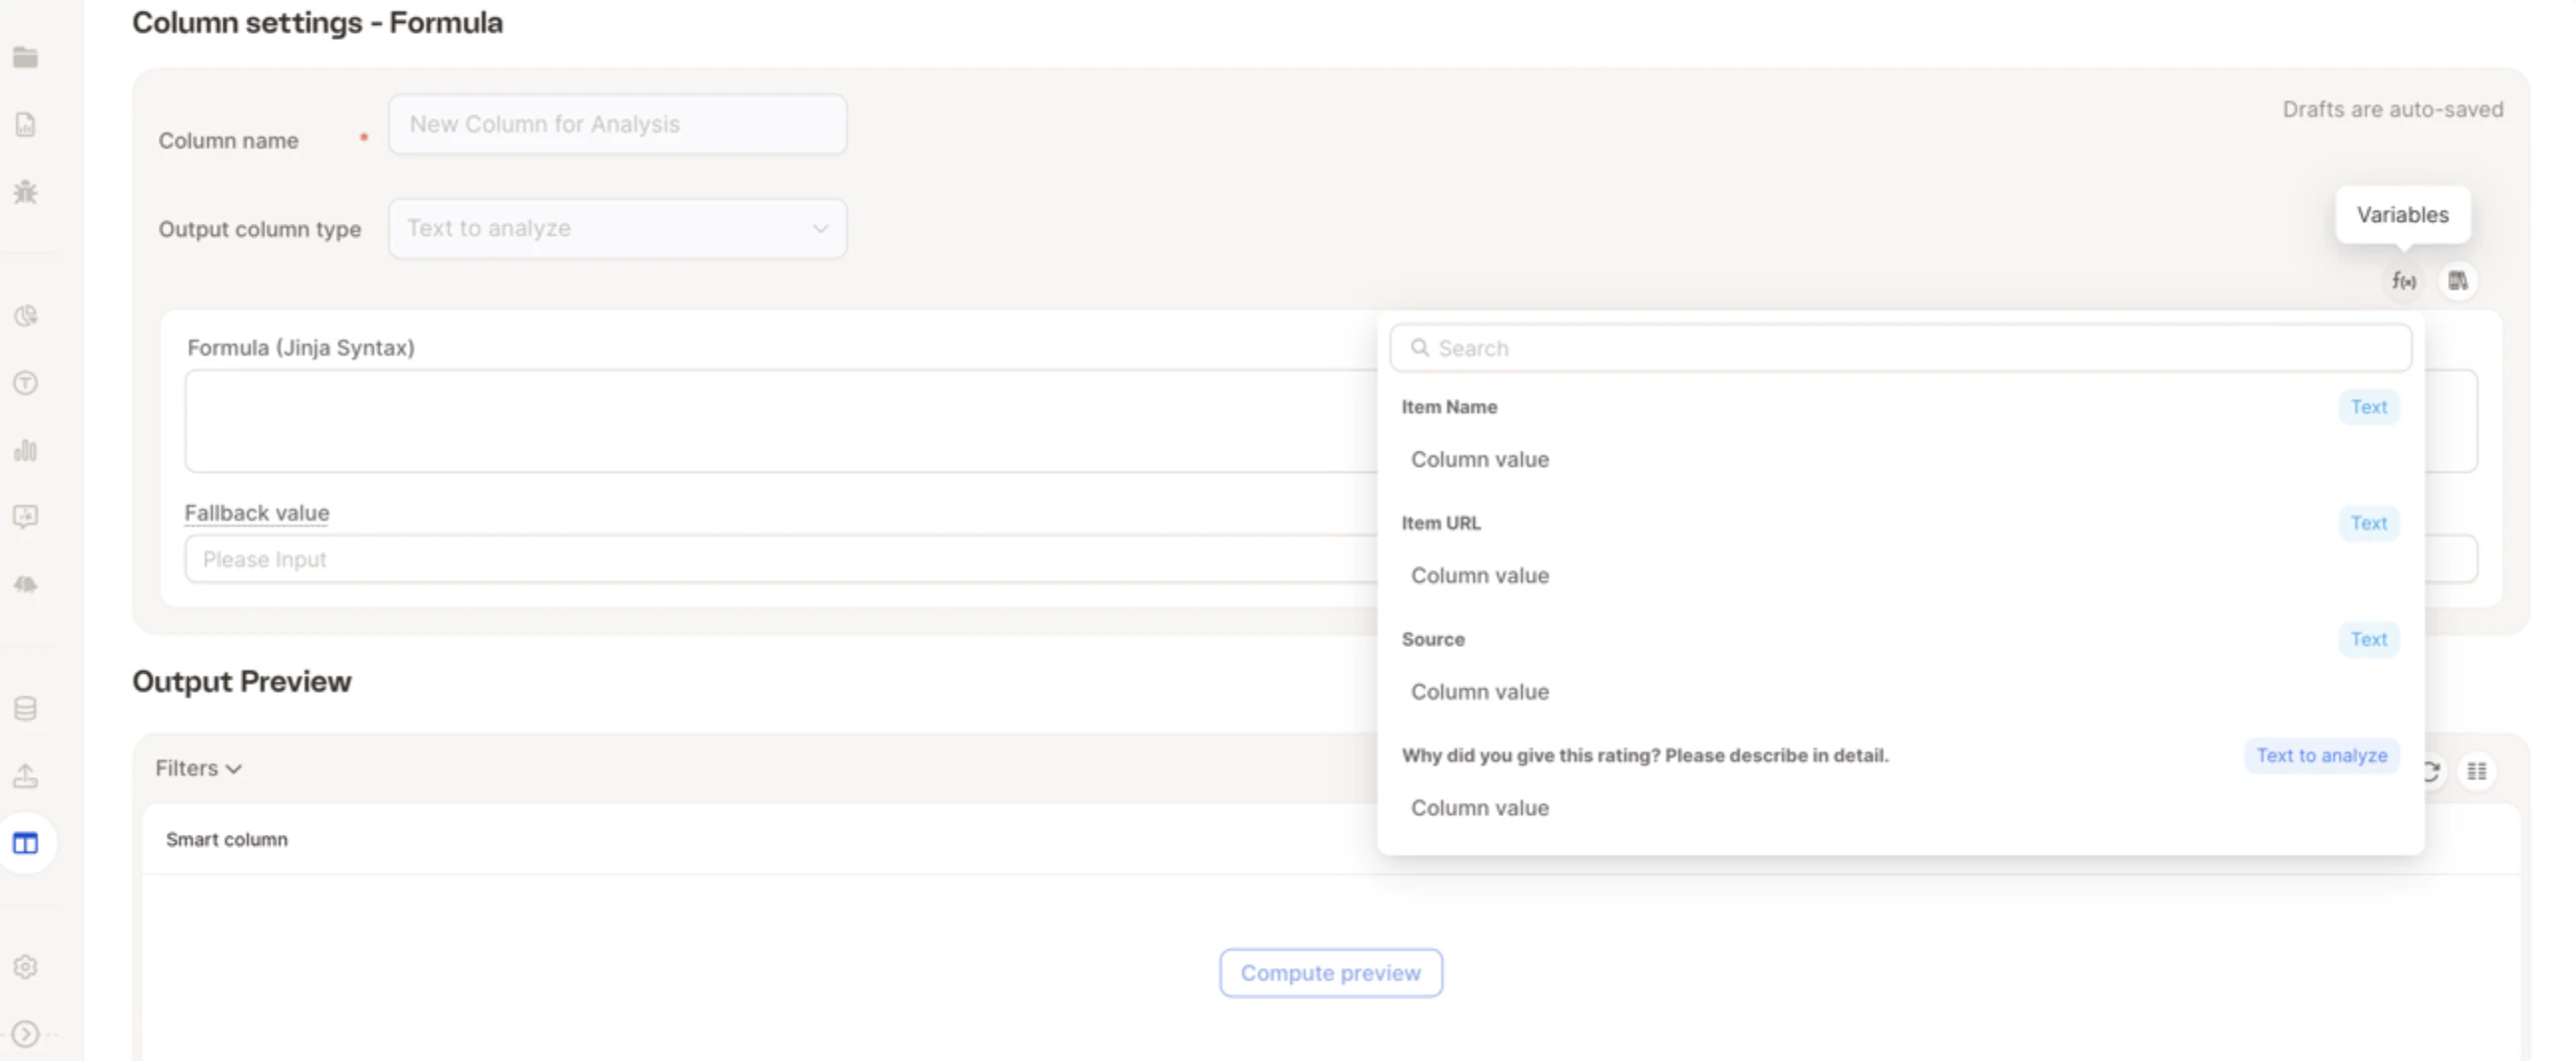
 Choose **Formula**, click on **Variable**, and select the column you'd like to turn into a TTA field.
 Click **Create & Fill**.
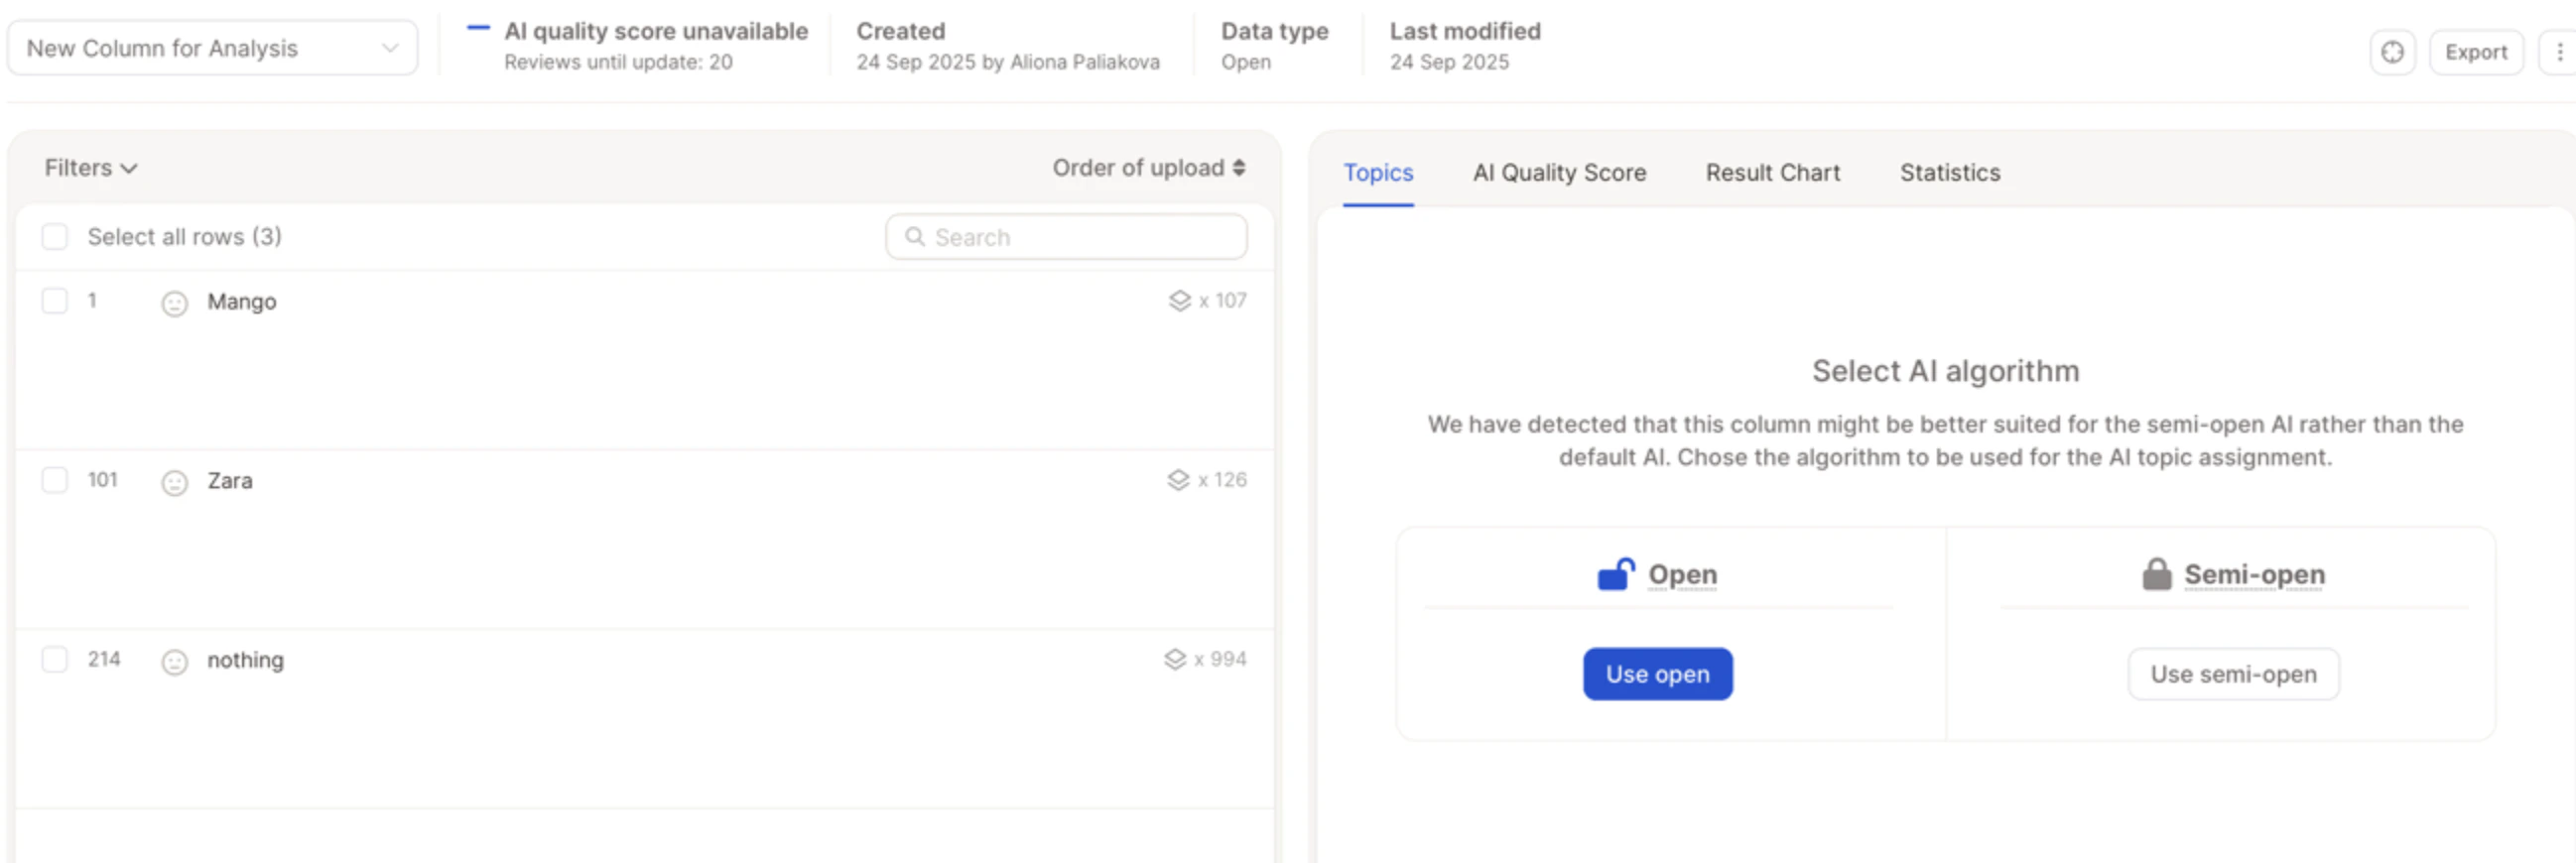 Your selected column will now behave like any other open-ended field and can be included in your analysis.