

Applying weights to a report
You can apply weights during the report creation process via Advanced settings.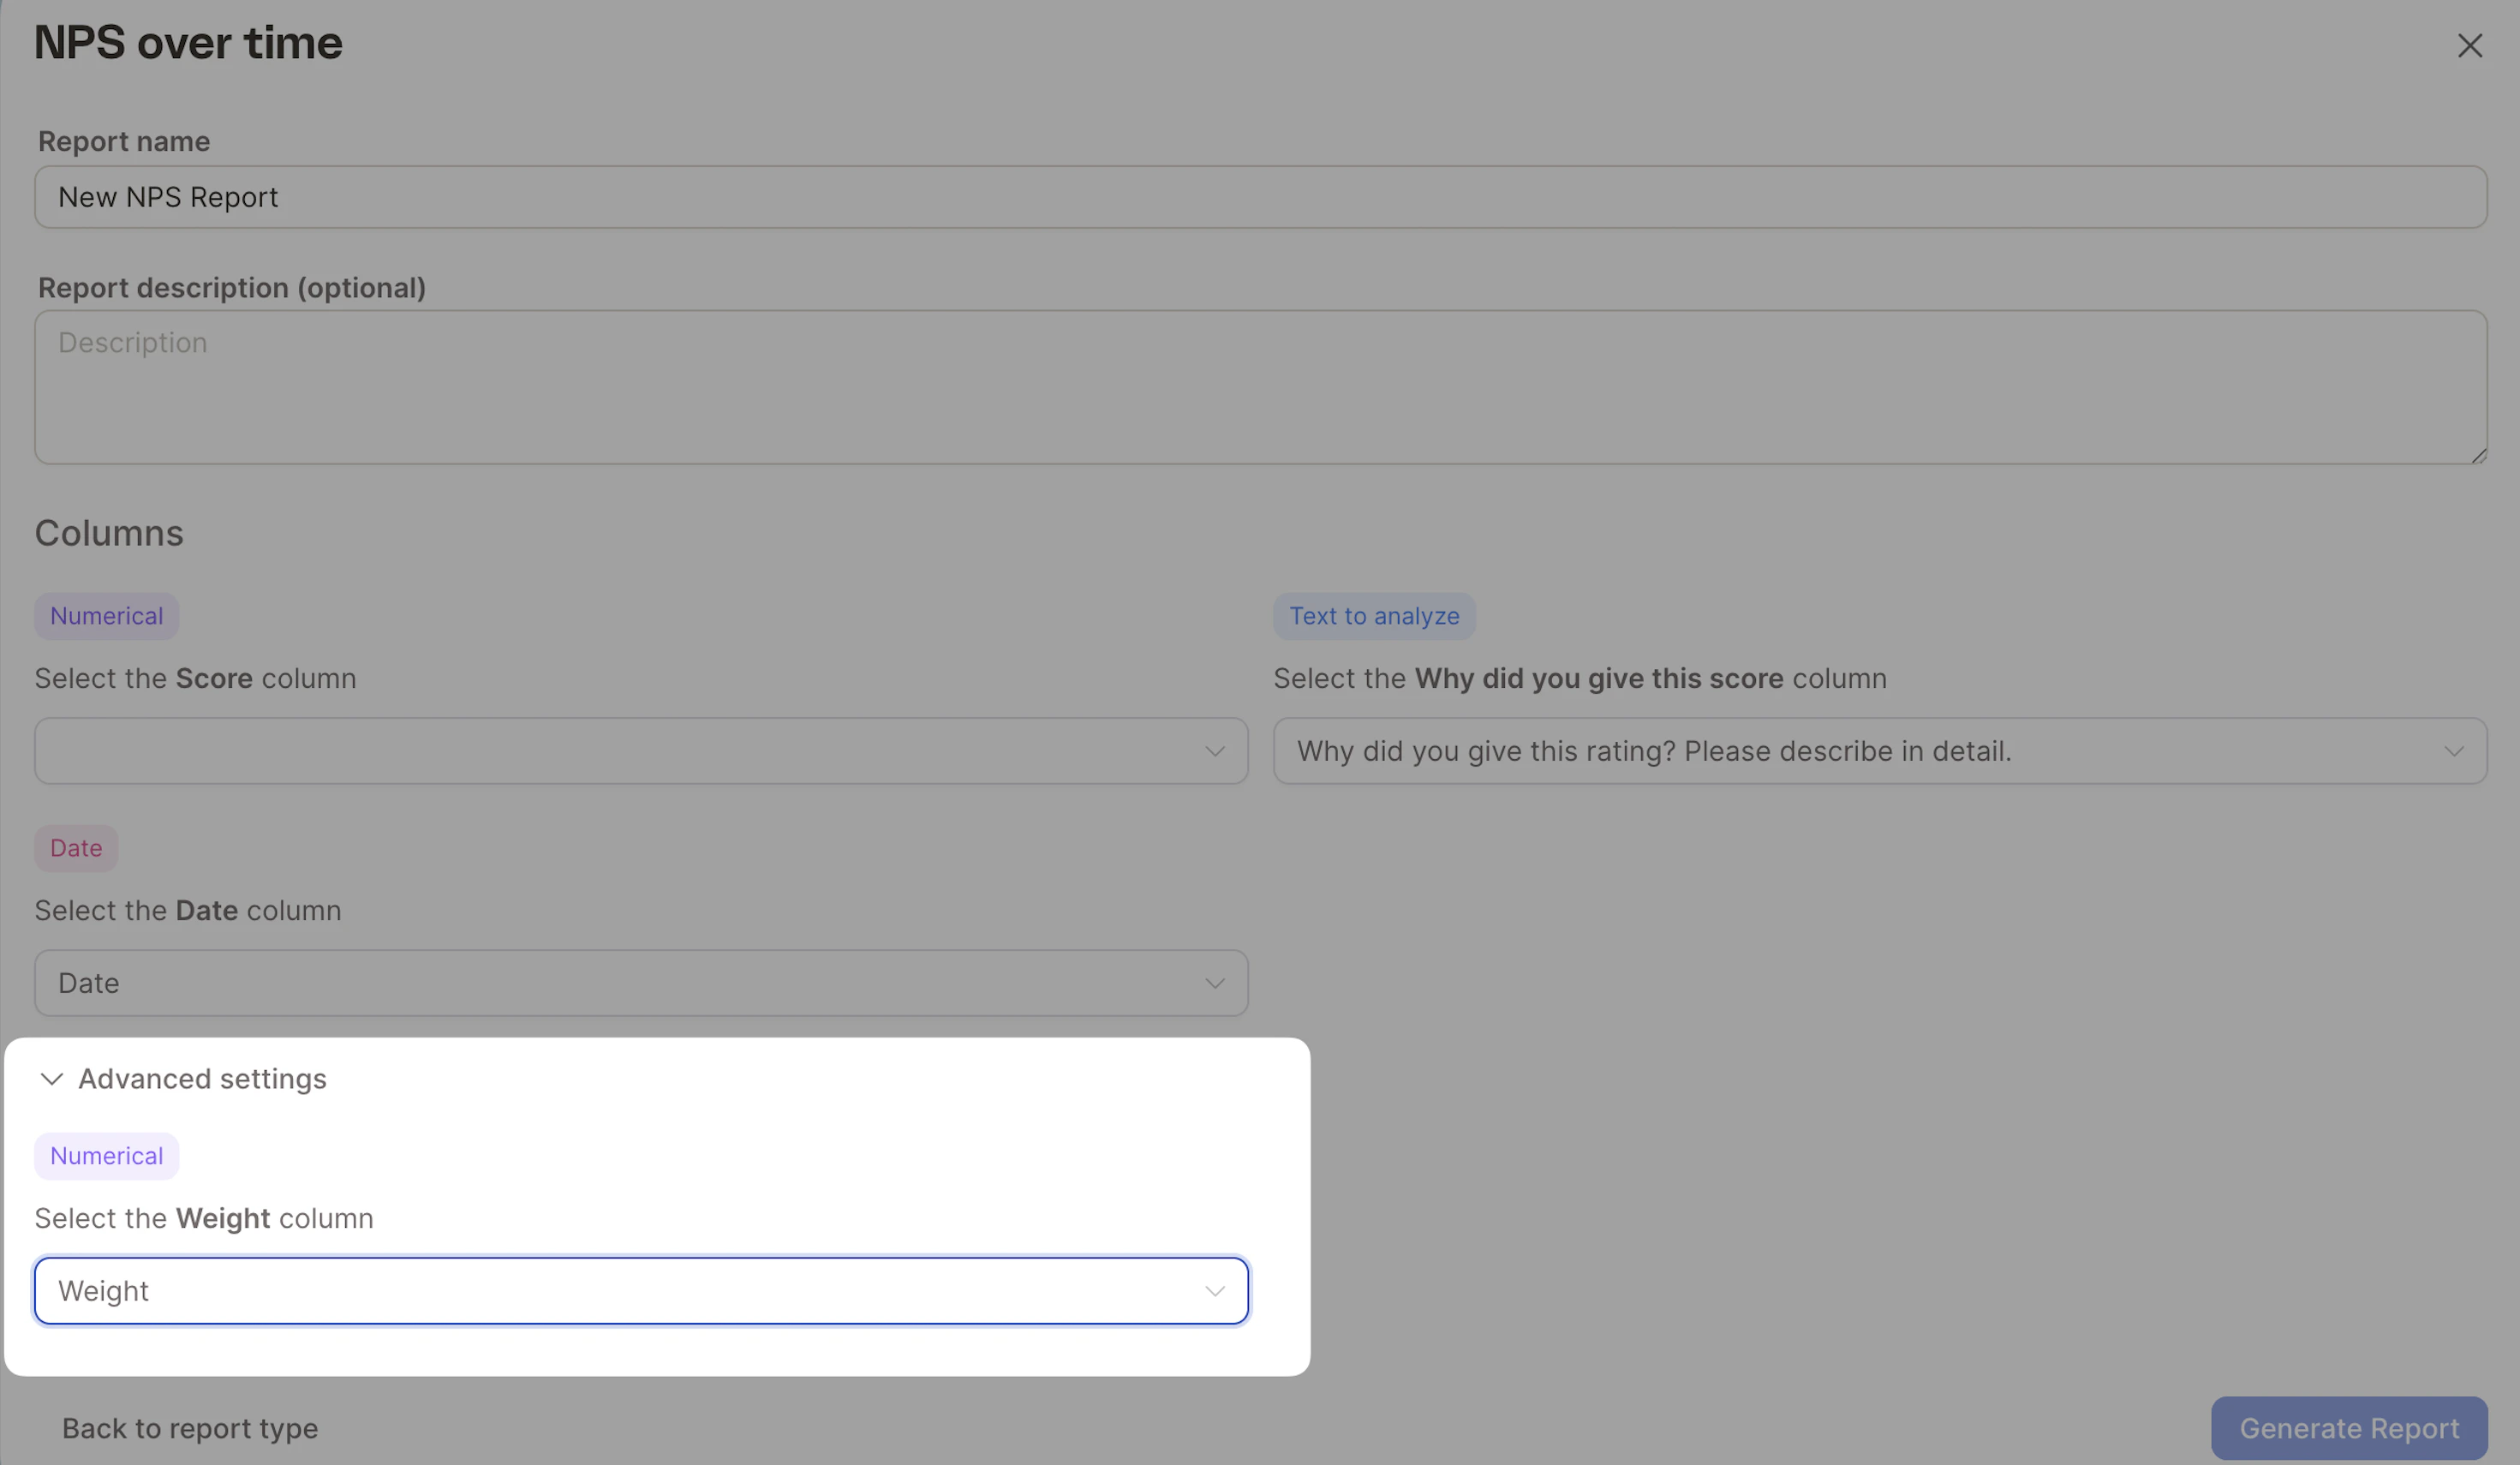
1
Go to Reports → Create new report
2
Select the template you want to use
3
Expand Advanced settings
4
Under Select the Weight column, choose the column containing your numeric weights
5
Create the report
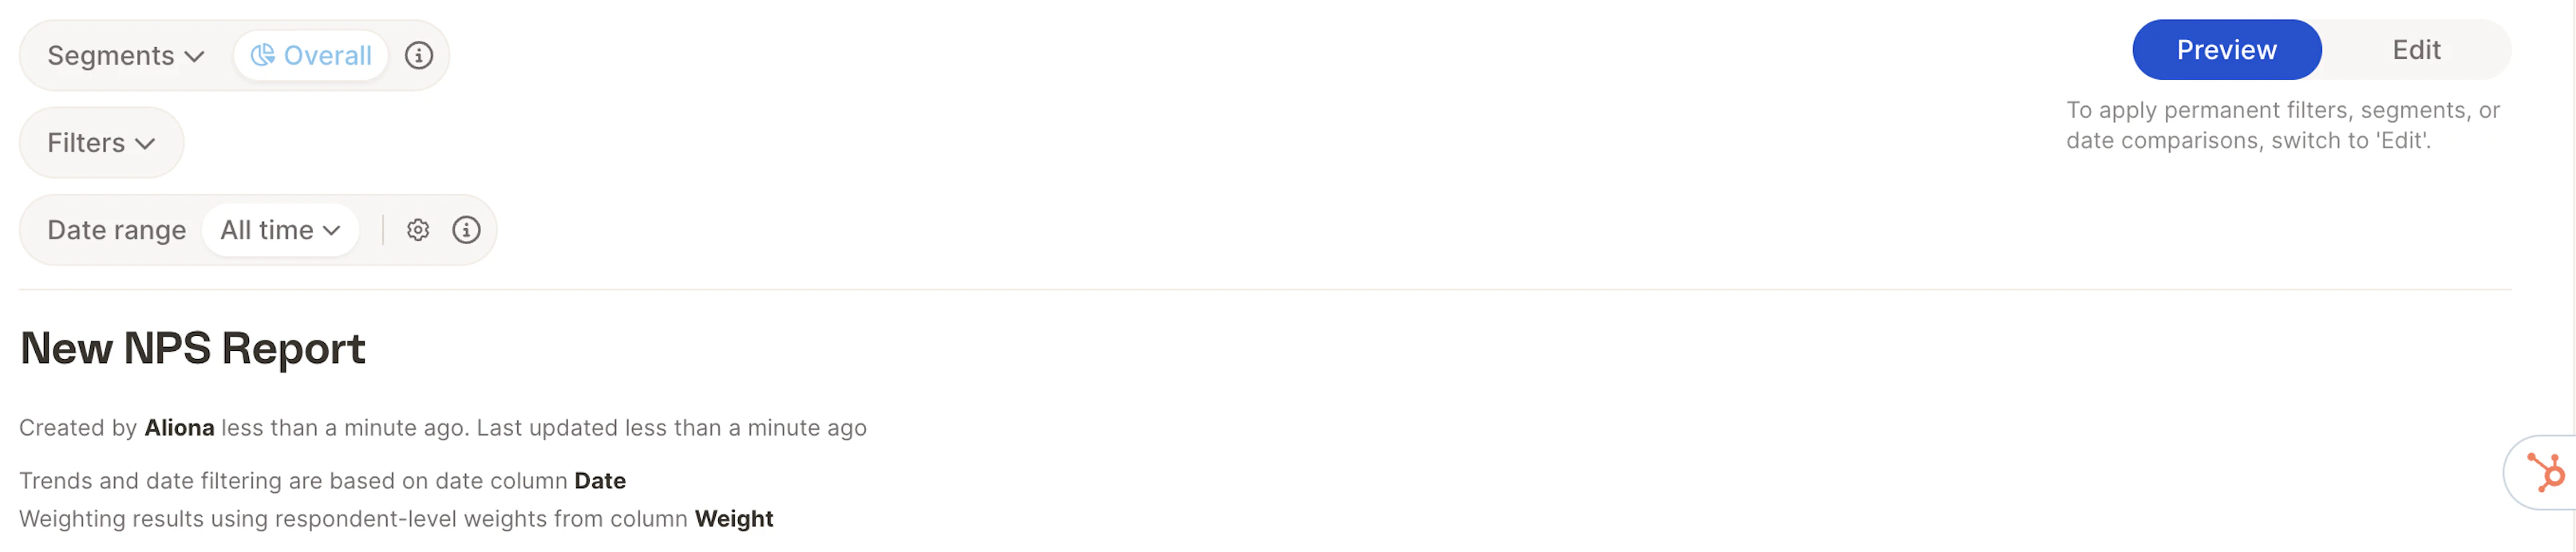
Once a report is created, the weight column cannot be added or changed. If you need a version without weights, create a new report using the same setup but leave the weight column unselected.
The weight variable must be numerical
Caplena requires the weight column to be numerical. When importing your data, make sure the column is set as a numerical type — this happens automatically if it contains only numerical values.Additional weighting-related features and improvements may be introduced in future updates.
Weighted and unweighted counts
When weighting is enabled, insight elements always show weighted row counts. This applies to the counts in charts, bar tooltips, and then shown at the bottom of each insight element. You can’t switch an insight element to unweighted counts.
To see the unweighted base, hover over the info icon next to the n of an insight element. The tooltip shows both values, for example weighted n≈234, unweighted n=656.
The row browser shows unweighted counts. When you click a bar to open the row browser, Caplena lists the individual rows behind that topic, so the count reflects the actual number of rows rather than their weighted total. Because of this, the count in the row browser can differ from the count shown in the chart.